Day 7 of the IBG Models Gotha Go 242 A kit build.

Almost finished masking the glazing - no getting away from it, there's a fair bit of work here.

I found that a smear of Perfect Plastic Putty was required around the canopy. Dry fit of the cargo ramp/tail in the open position using metal rod to replace the plastic attachments. At least I can get it to sit open without too much help. I know absolutely nothing about how the ramp door operates. Note in the image of the real aircraft below, the door opens much higher than I have it positioned here. Note too that this image appears to show one of the aircraft on the decal sheet - or finished in a similar scheme. Mottles are brush-painted.


Building the wings. Perfect fit but I still managed to break one of the supporting struts by trying to force it into place - should have drilled open the locating hole. No issues with the tail booms - although the instructions have the boom parts numbered incorrectly. Take care fitting the tailplane - I was not 100% not sure which way is 'up' - although part 'F21' does need to be on the lower surfaces ...
Steps 25 - flaps and ailerons - and steps 26 and 30 - the various PE details to be added to the wings and tailplane - still to do.
Steps 32 and 33 - the undercarriage and skids -can probably be completed once painting and decaling is done.


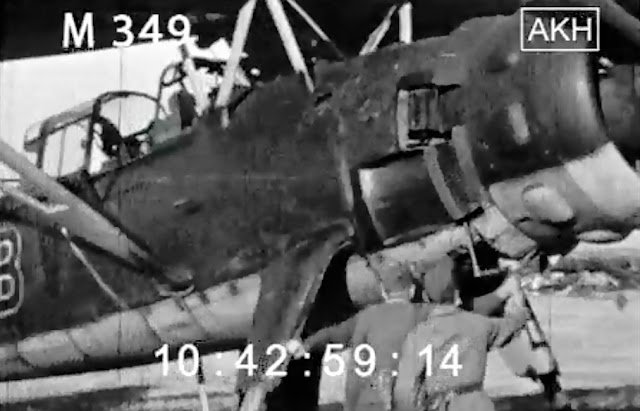
Another image of a Go 242 seen here at Heraklion on Crete, en route to North Africa. Check out the ECPA-D website (imagesdefense.gouv.fr) for more like this..there are useful images in the DAK 238 file which show plenty of details. I particularly needed to look at the lower forward fuselage window - which in this image appears to be partially over-painted.


.jpg)


.jpg)